Photo Album makes it easy to upload, view, download and organize images in albums. You can browse photos with small thumbnails to see more than a few at a time, view a gallery, or even download originals to your device.
Along with image viewing, Photo Album has many more functions for image management, including changing orientation, adding titles, and more.
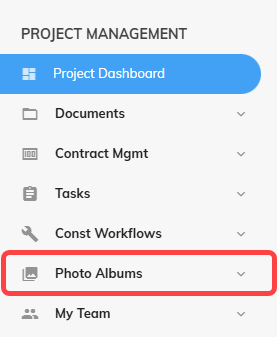
You can access this feature by clicking on Photo Albums in the navigation panel on the left. This will allow you to access the photo albums for the project that you are in.
To download an album, click on the three dots next to its name and then click on Download.
A pop-up will open listing all the photos names in the album. Here you can deselect any photos you don’t wish to download by clicking the “x” next to the photo’s name. When you have made your selection, click on Download to download your photos to a compressed Zip file.
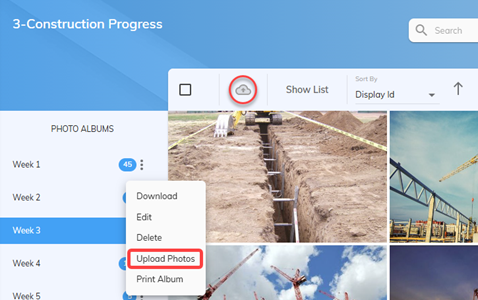
To add photos to an album, click on the three dots next to the album’s name or on the Upload icon located on top of gallery.
A pop-up window will open for you to select and upload your photos. You can click on the cloud button and select photos by browsing or you could drag and drop photos in this area.
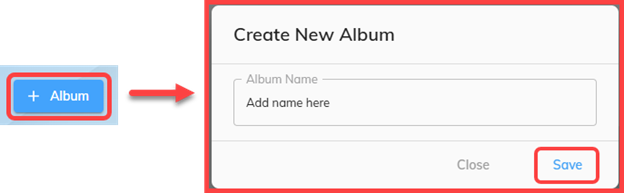
Add a title to the photo(s) that you have selected and click Save to upload the photos to the album.
Optionally, you may add a description and tags in the provided fields for photos as additional information.
You can also select users to send email to directly from this pop-up. To select recipients, click into the fields and search for by the User or Role to inform them of this upload.
To manage individual photos, click the three dots next to the photo. While there are several options available, this is where you can edit the photo. Click Edit to update the photo’s title, description, or tags. And you can also edit the photos orientation by clicking the rotate options.
To email photos, first select the desired photo(s) by clicking the checkboxes next to each photo (circled in red). Alternatively, you can select all photos by checking the box in the top-left corner of the gallery. Once you’ve made your selection, relevant action items will appear in the top bar above the photo gallery. Click the envelope icon to email the selected photos as a link.
A pop-up window will appear where you can select email recipients either by User or by Role. Optionally, you can add a message in the text box. Once you’re ready, click Send.
Note: This is the secure method for sending emails to recipients who have a Projectmates login and the appropriate access rights.
To email external recipients, toggle the “Secure” option and select the duration for which you want the lick to be active. Add recipients from “contacts” or type external email addresses (separated by comma) and then click Send.